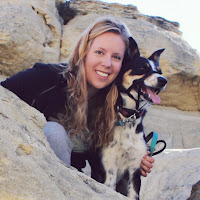
Autumn is absolutely the most beautiful time of the year. What an opportunity to take some stunning photos of your home, yard or loved ones! The technique I'm going to share is one that I learned in my photography class years ago, I like to call it the "Railway Crossing" technique. I call it that because I can't remember the real name of it and it always reminded me of a road meeting up with a train crossing. If you do know the name, please let me know!
Looking at these two pictures of sunflowers, most of us would have taken Picture A, centering the focal point in the middle.
 |
| Picture A |
 |
| Picture B |
Take a look at this picture of Captain stretching just outside of the Gift Store, imagine the 4 lines again. You can see that I've focussed his head in the bottom left line crossing, with the high part of his back in the top right crossing. I've also lined up the edge of the wagon wheel with the left vertical line and the top of the two hay bales with the two horizontal lines. If you took this picture and accurately measured the lines, they would't be perfect, but as you can see, they would be pretty close. Next time you're out taking pictures see if your camera has a setting to see these lines when you look through your lens. The one part of this photo that I don't like, is that your eye is somewhat focussed to his butt instead of his head. That's because your eye is naturally drawn to that top right crossing- remember that when your taking your pictures!
In this picture I could have easily placed the Aspen Crossing caboose and speeder exactly at the bottom right crossing. Instead, I made sure that they were just outside and I lined up the center of the trees with the left vertical line- making the trees the focus of my photograph.
Take a look below for some more examples of the "Railway Crossing" technique I used while taking pictures at Aspen.
Was this helpful? As always, we hope to hear from you.
If you really enjoyed this, be sure to share it with your friends!


